This video will show you how to add a timeview results dashlet to a dashboard.
1. Go to insightstore.civicscience.com and navigate to your dashboard.
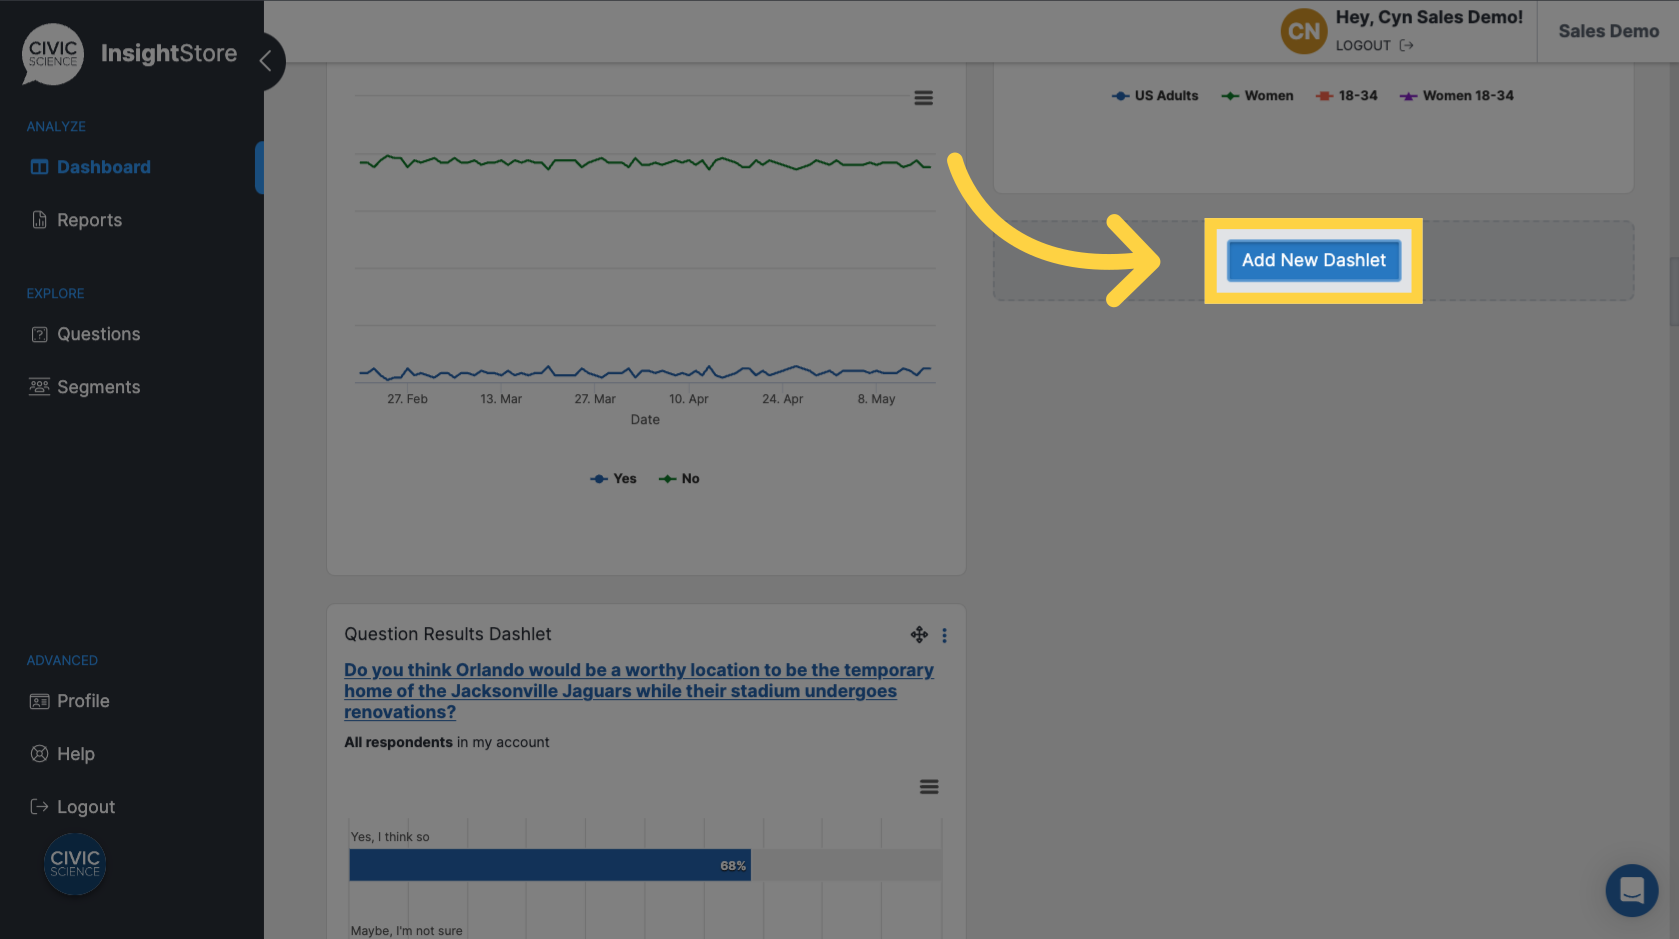
2. Click Add New Dashlet.
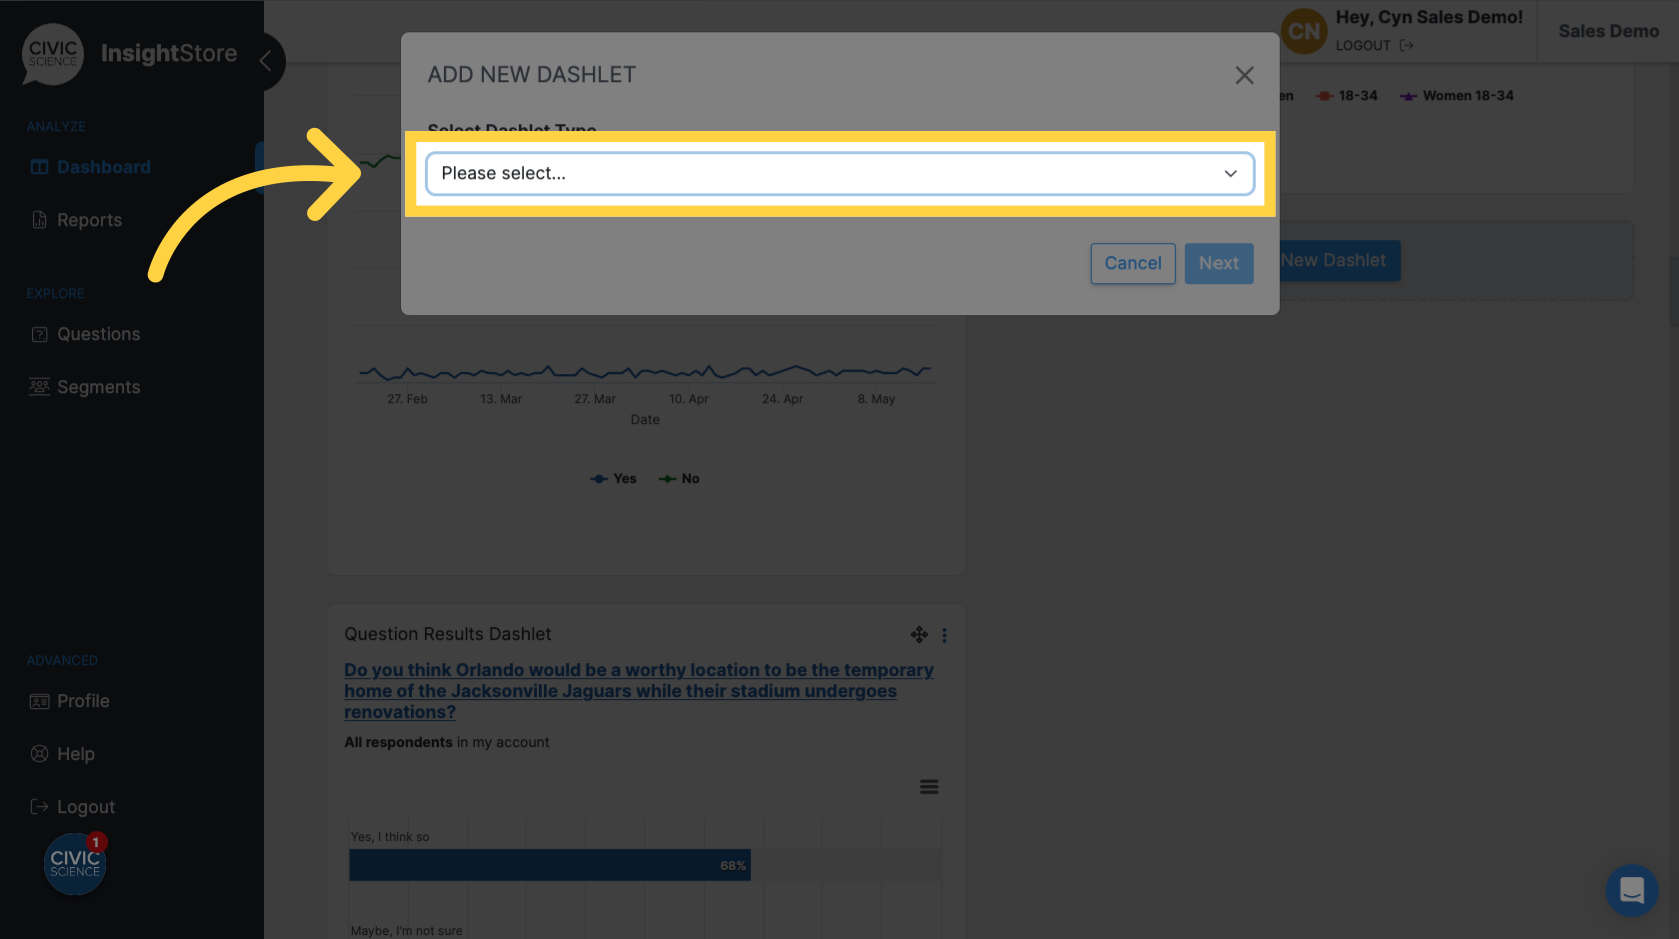
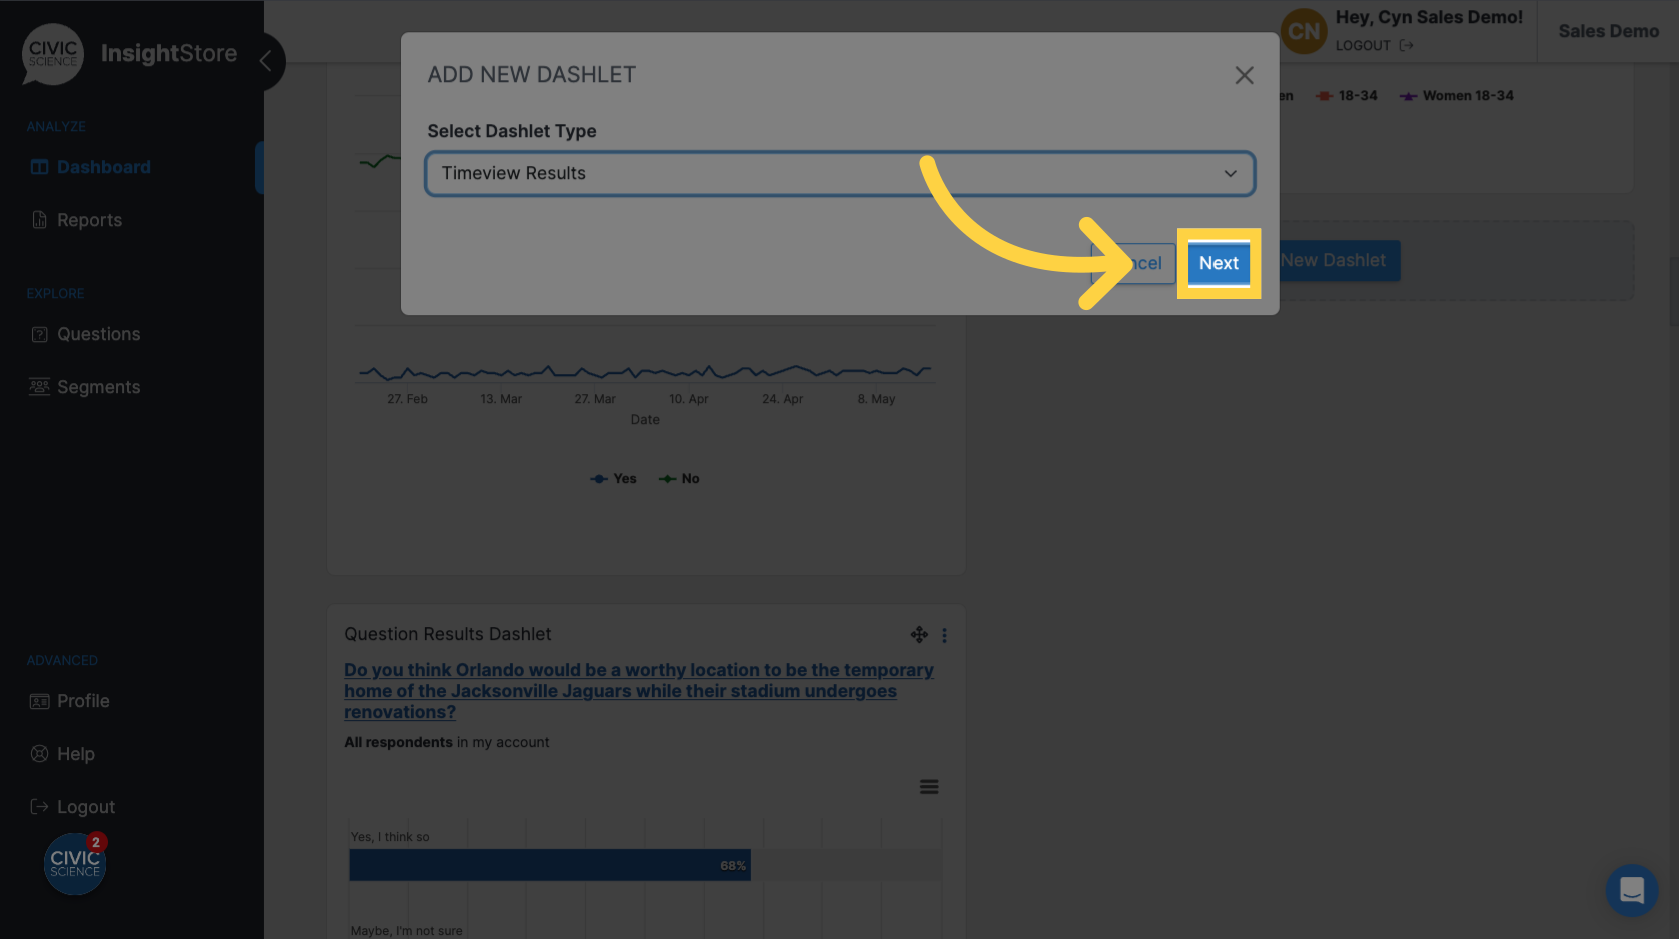
3. Select Timeview Results from the dropdown menu.
4. Click Next.
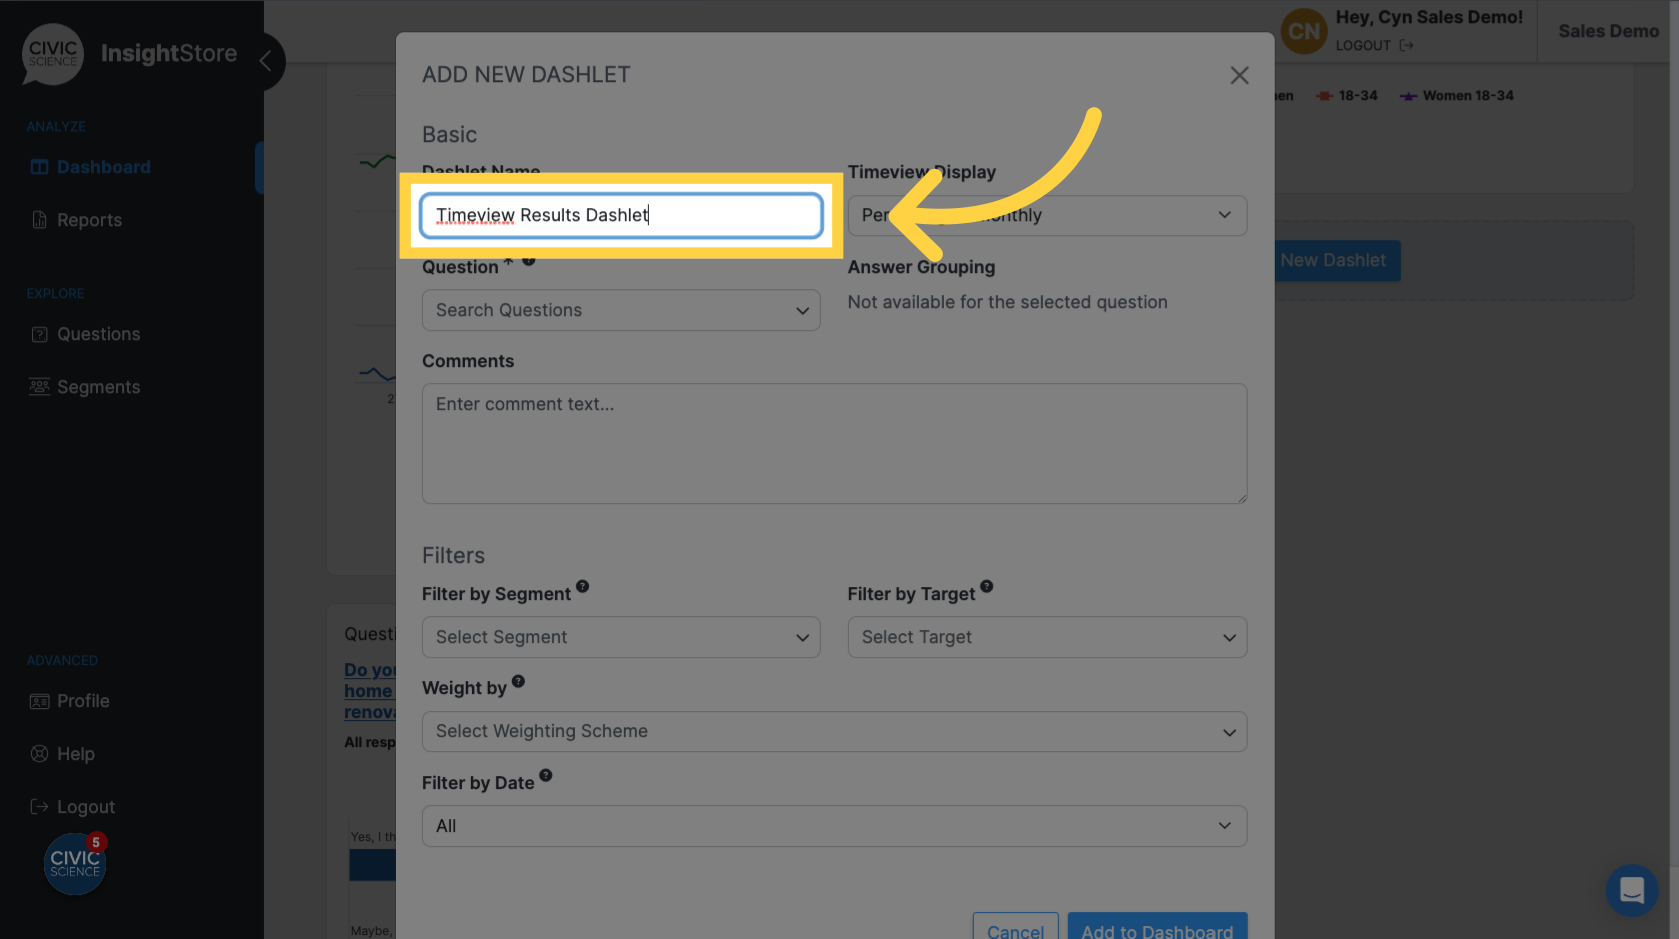
5. Click Dashlet Name.

6. Give your dashlet a name.
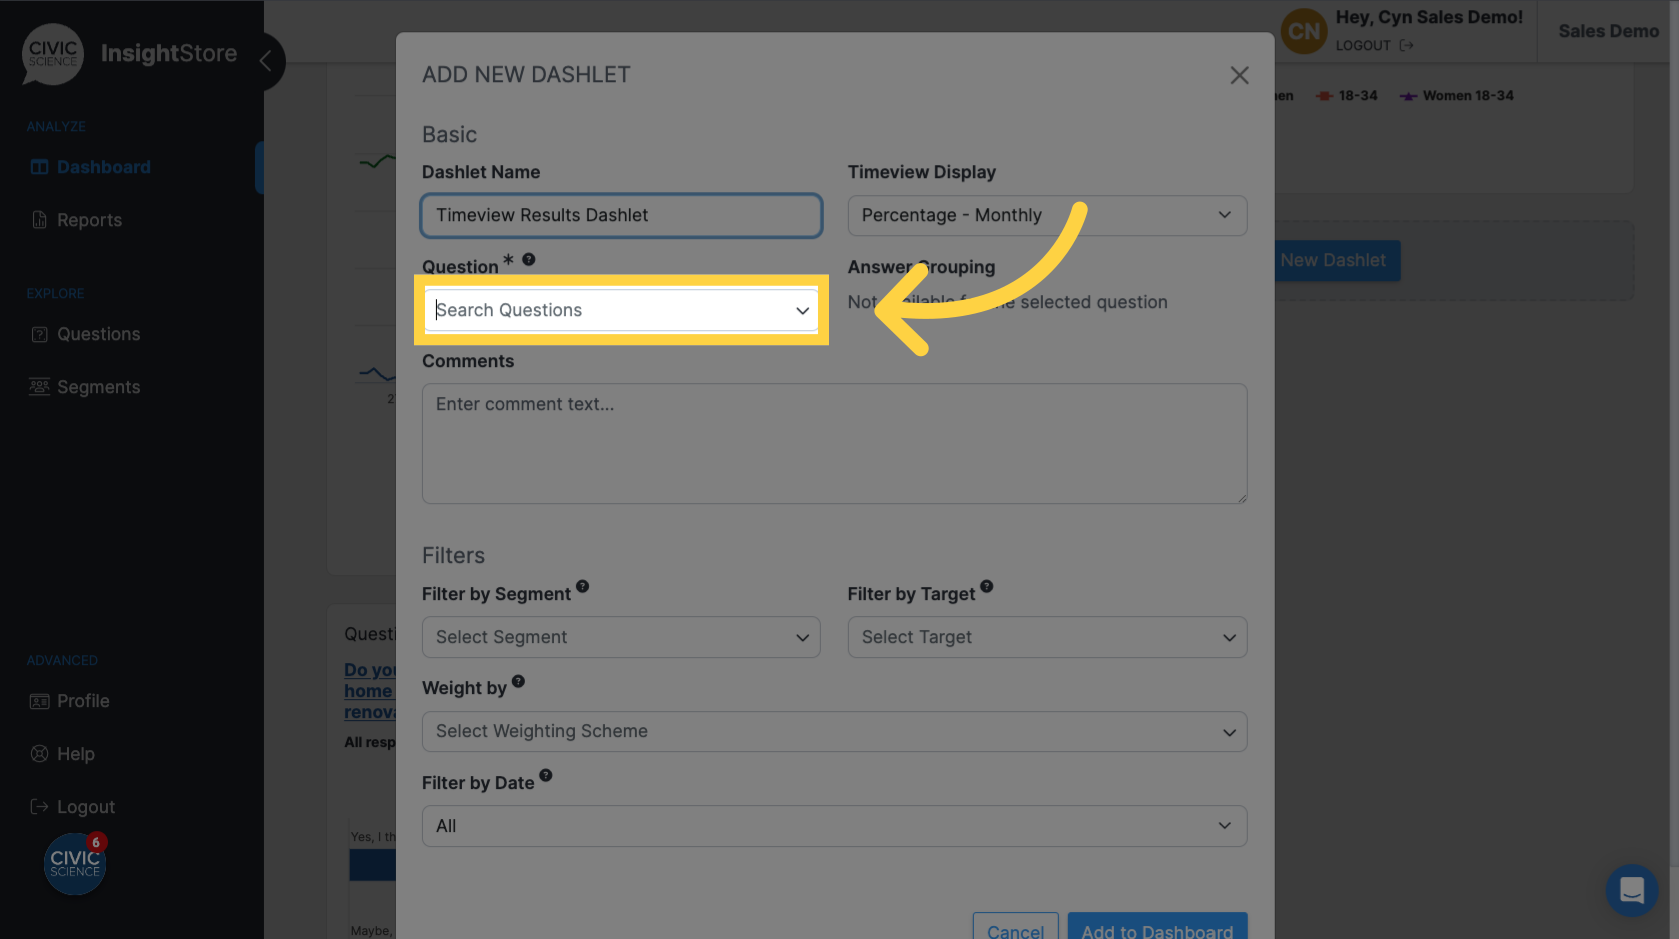
7. Click Search Questions.
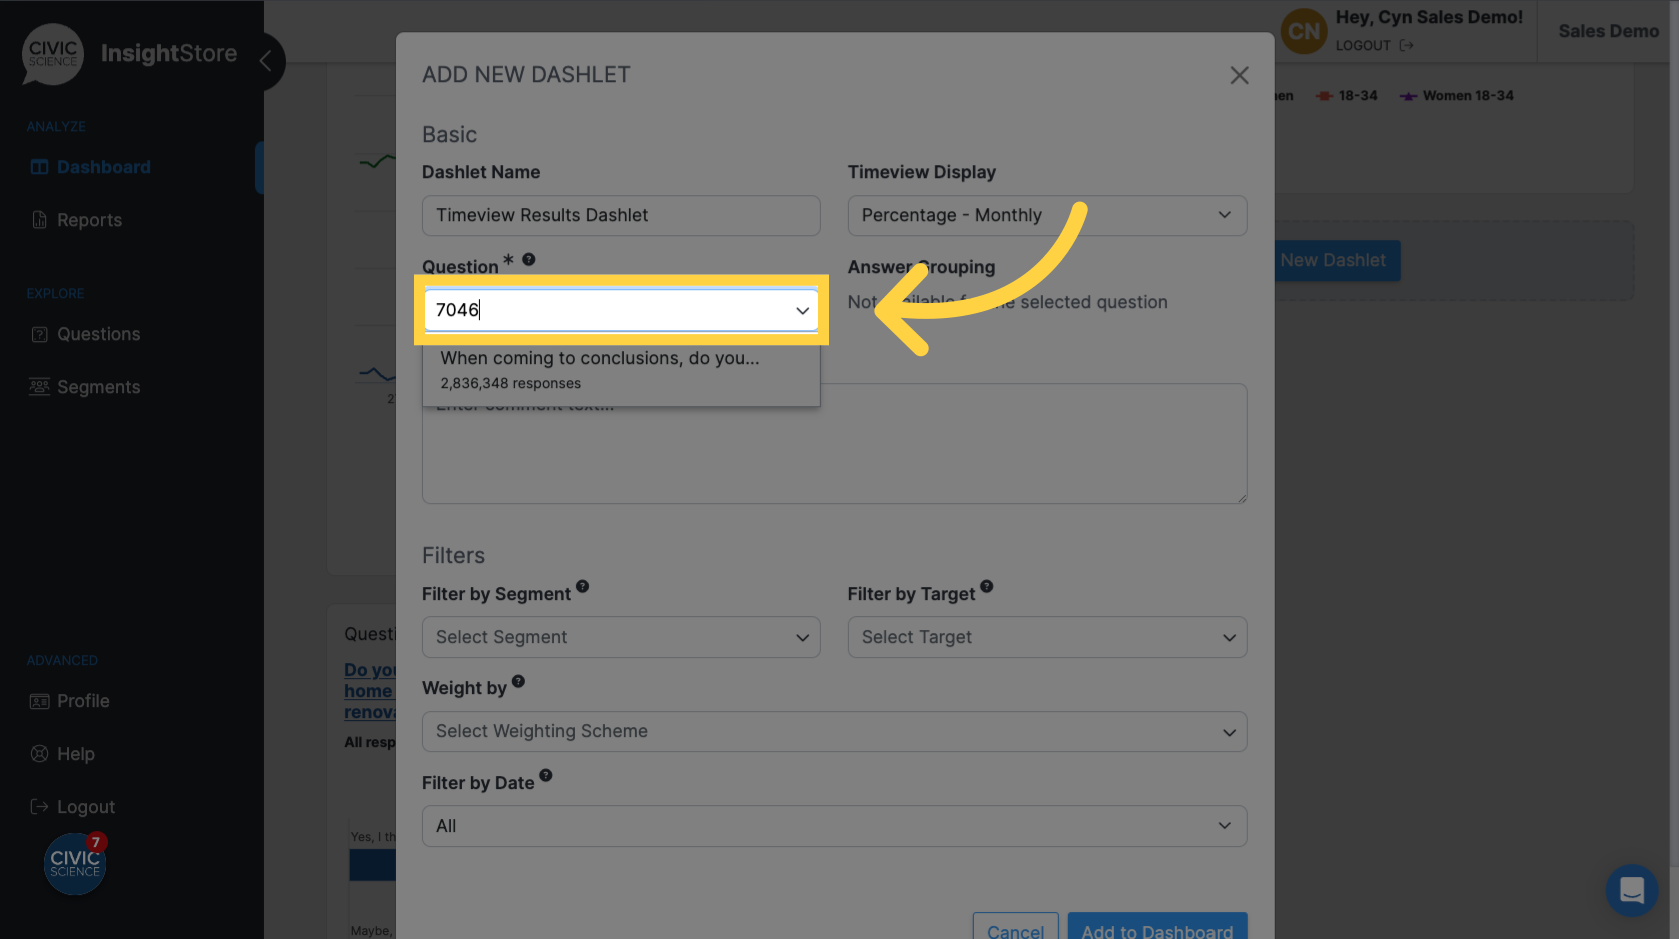
8. Enter the question ID or search terms.
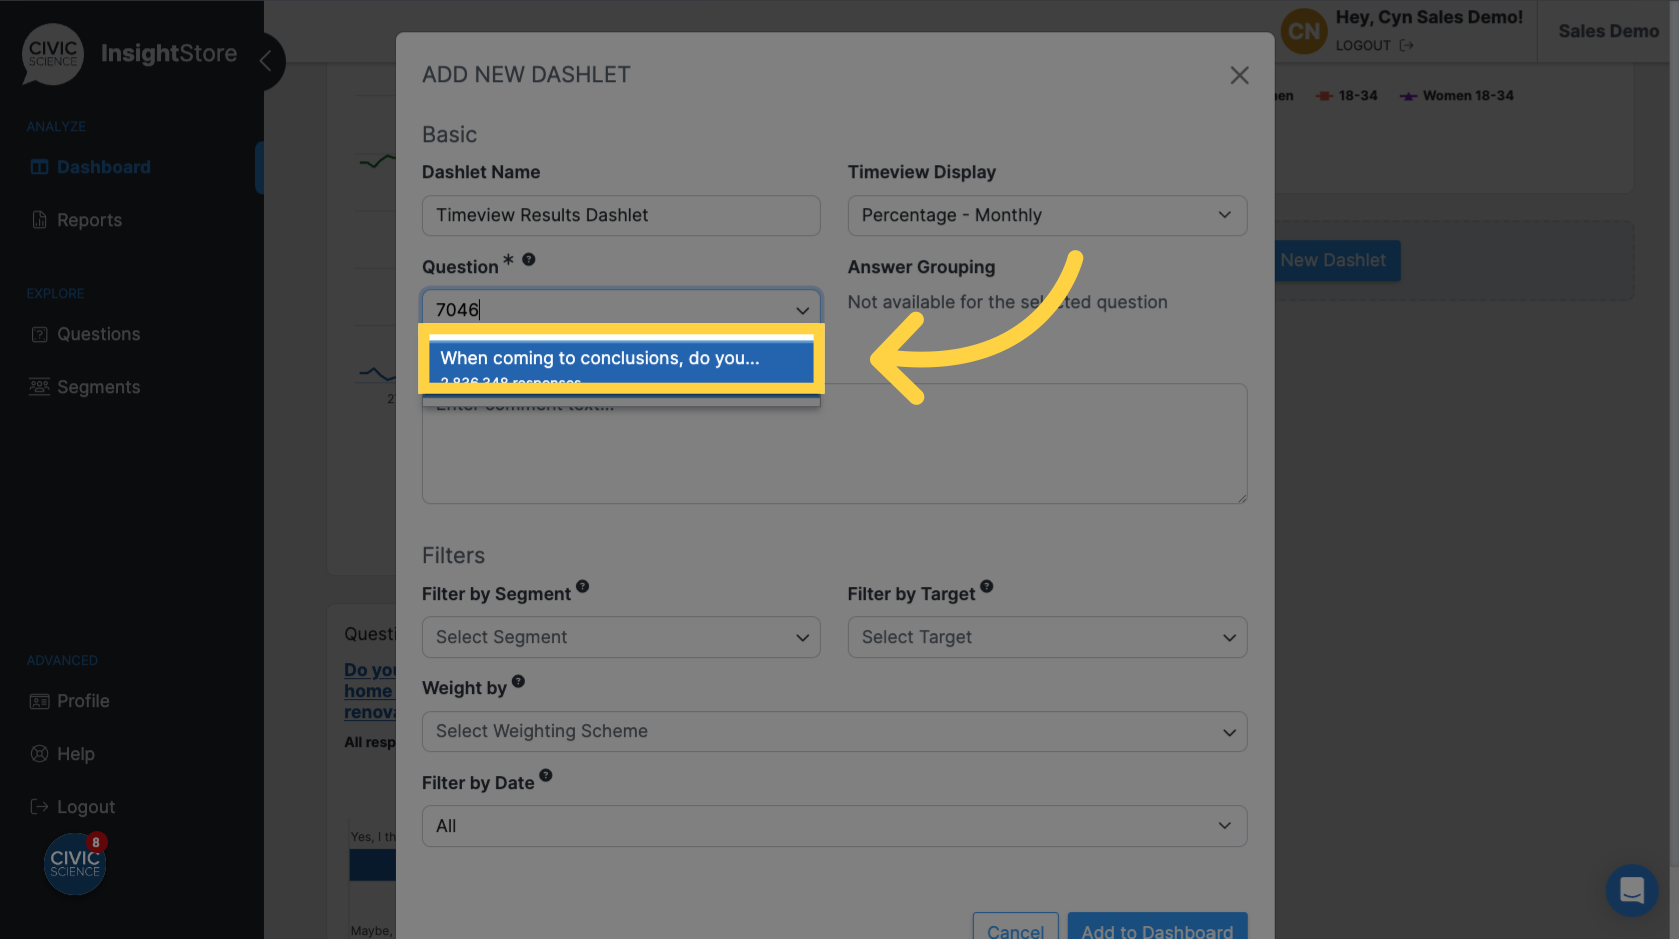
9. Select your question from the results list.
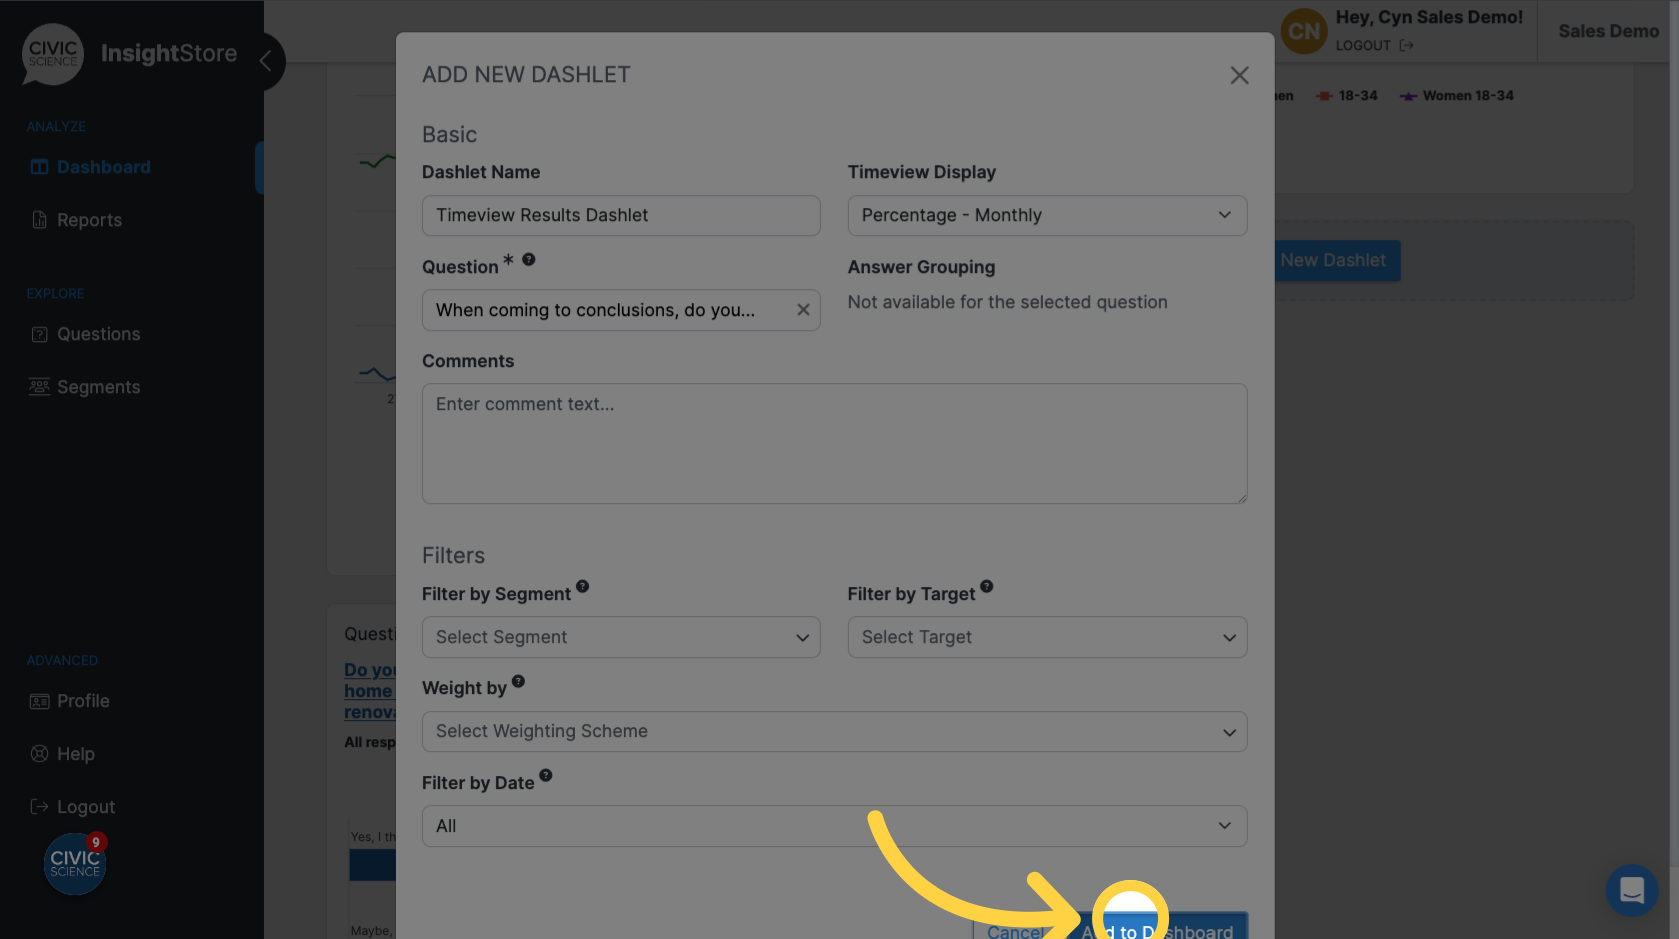
10. Click Add to Dashboard.
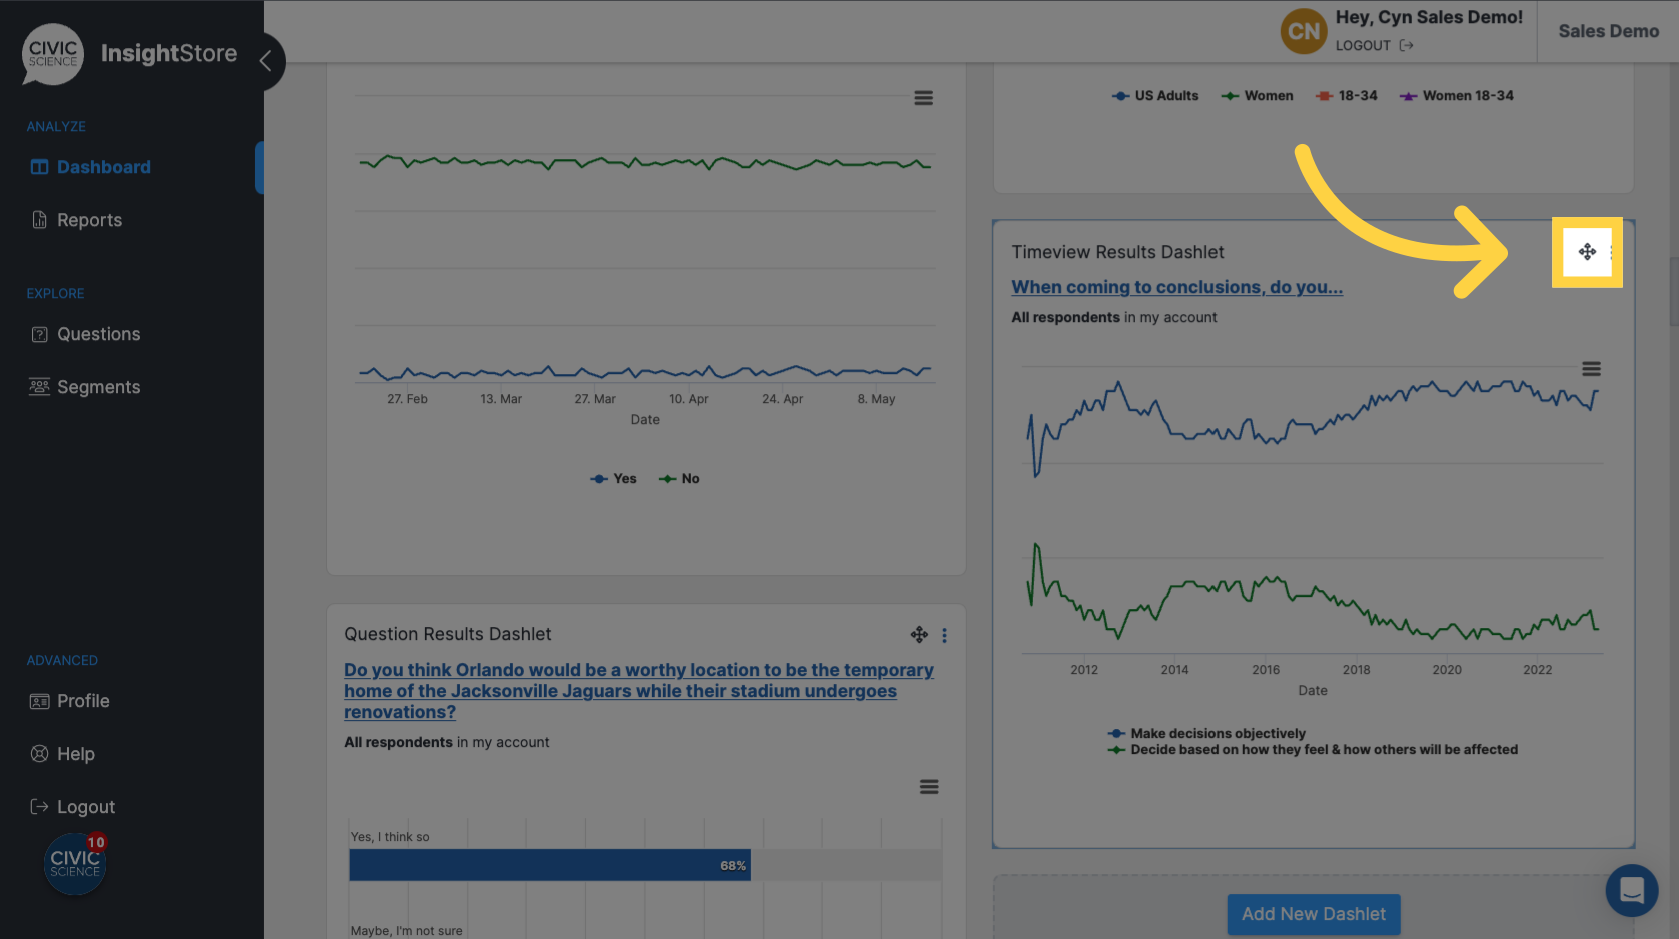
11. Click on the move cursor symbol and drag the dashlet to its desired position.
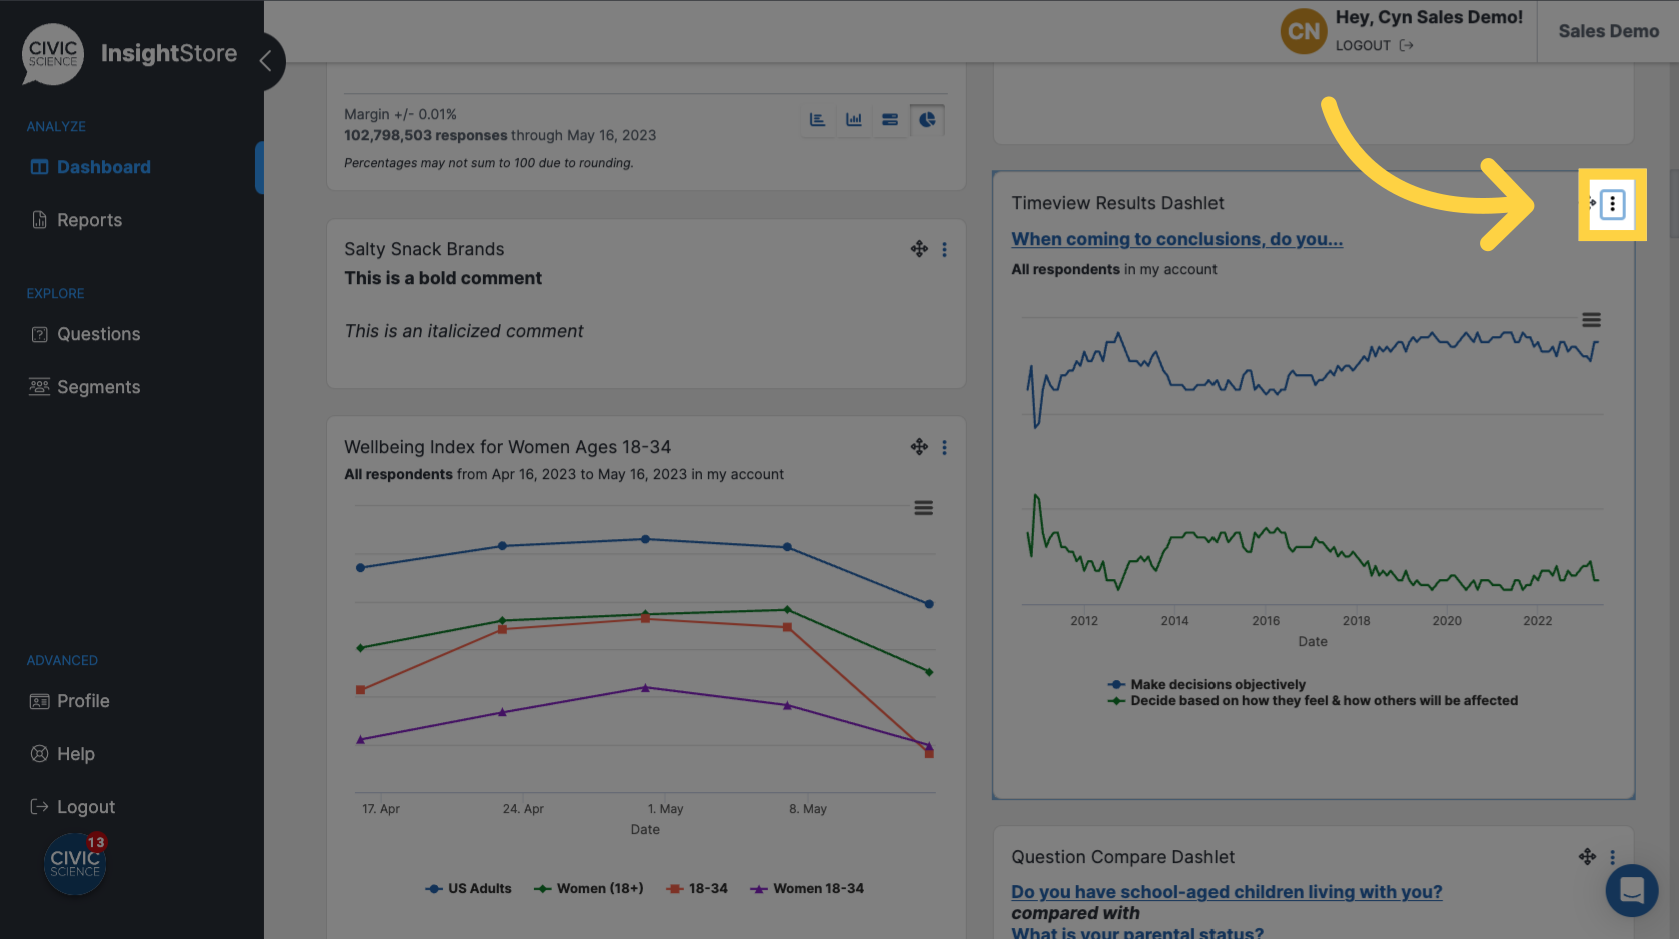
12. Click on the kebab menu to edit the dashlet.
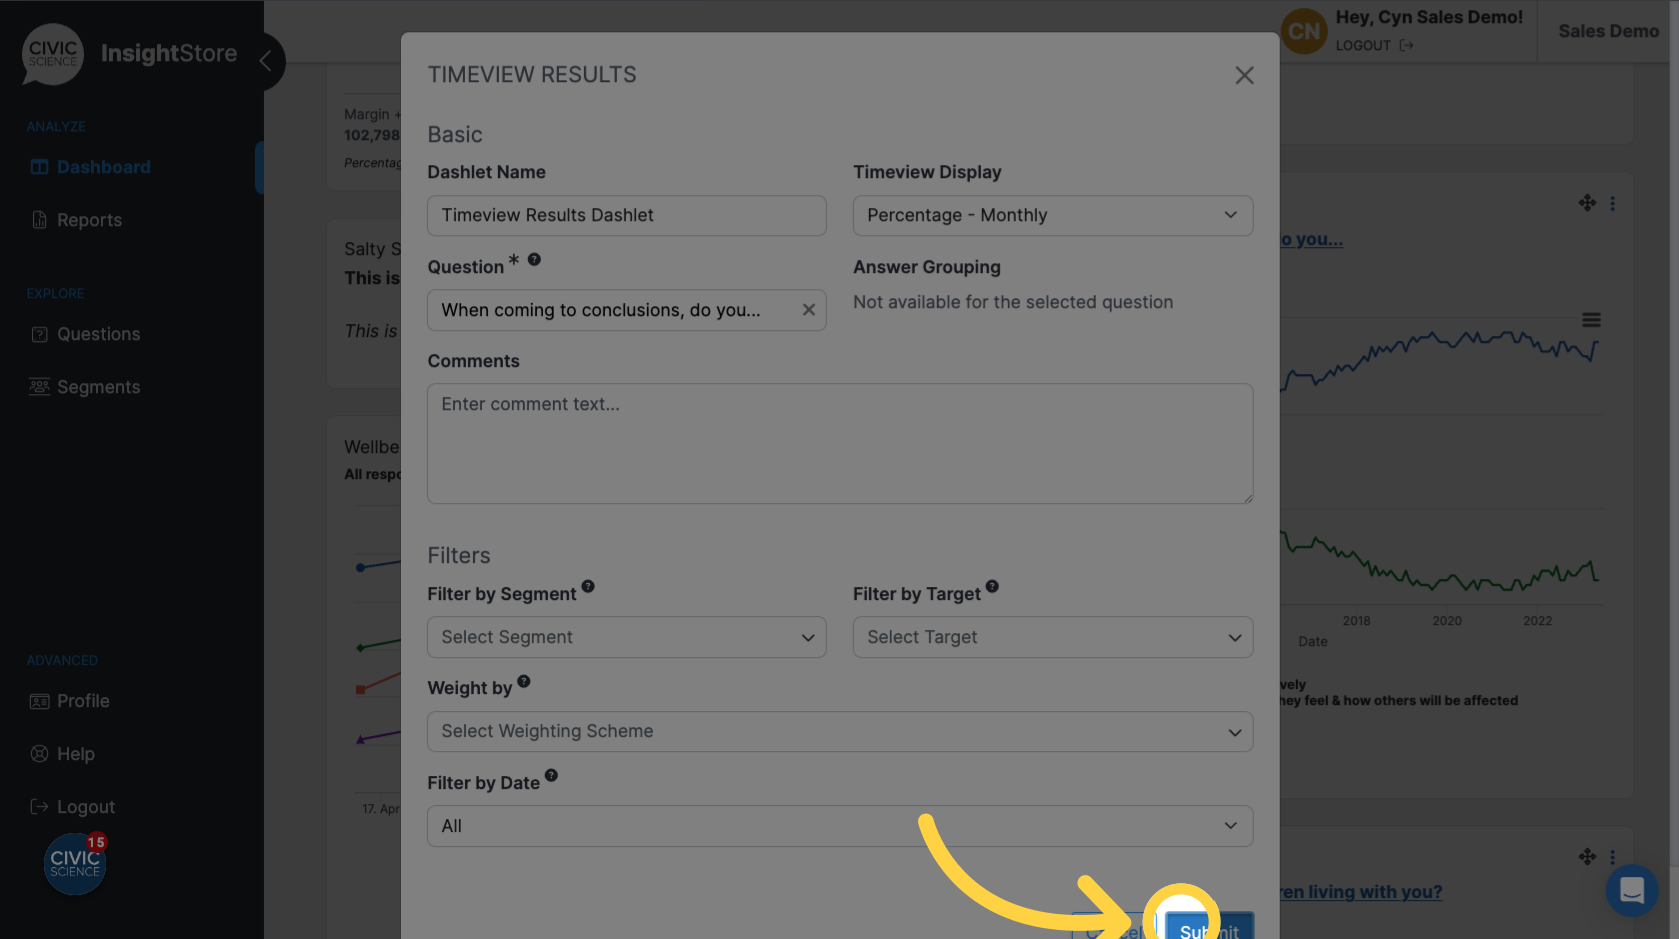
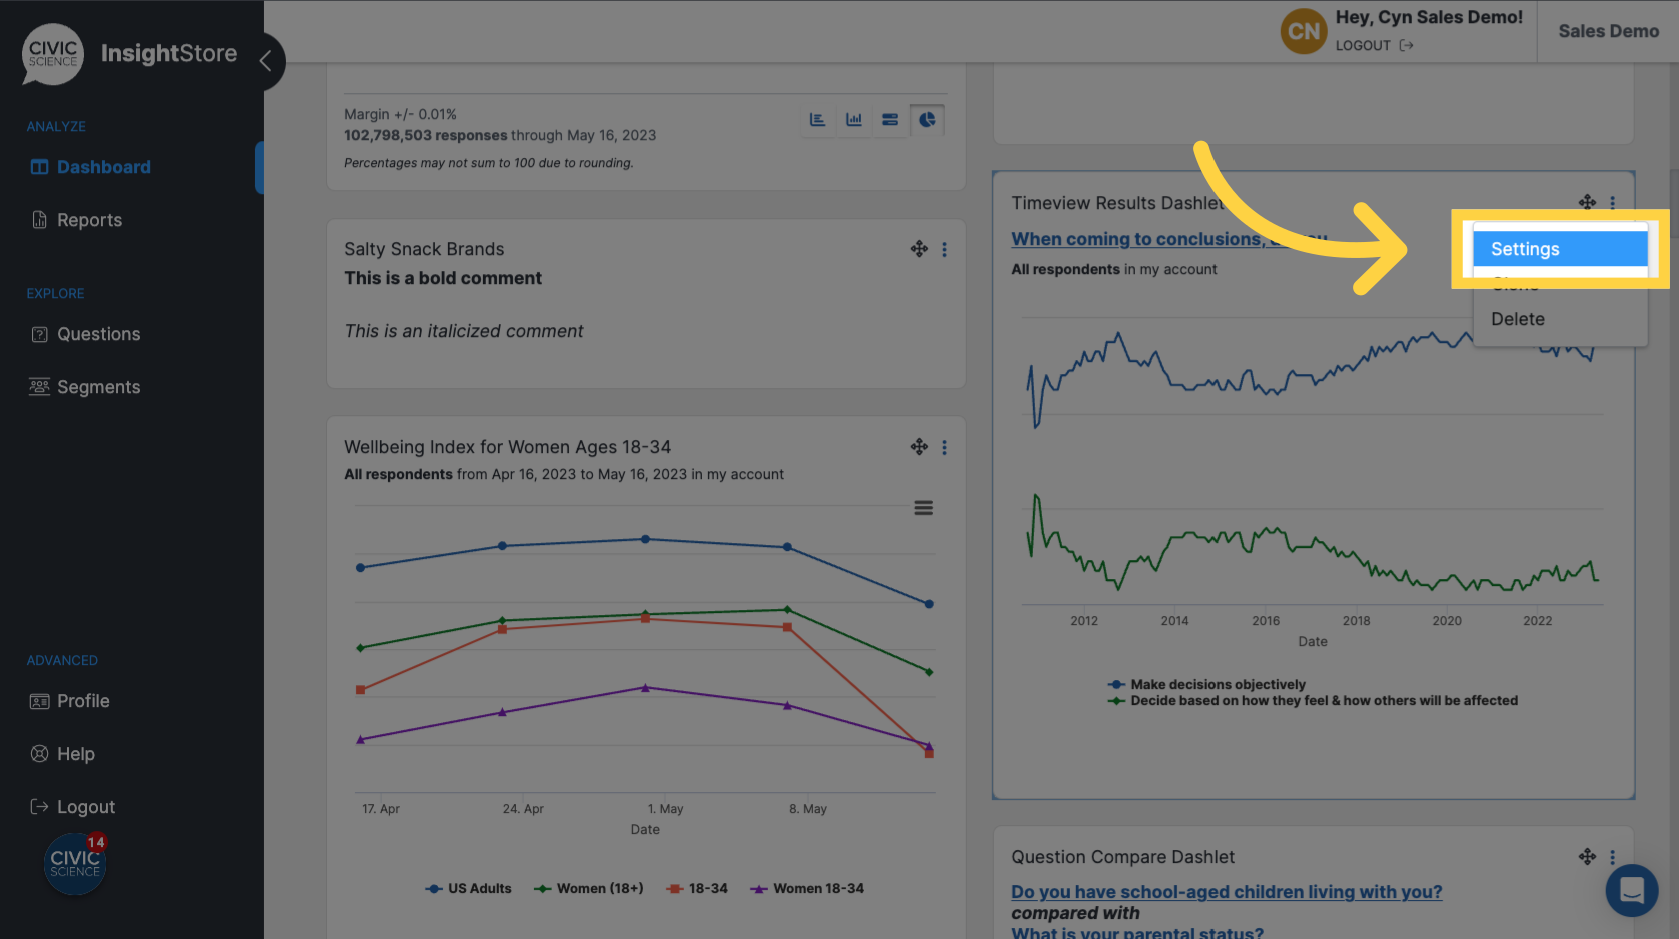
13. Click Settings, then make any needed changes.
14. Click Submit to save your changes.